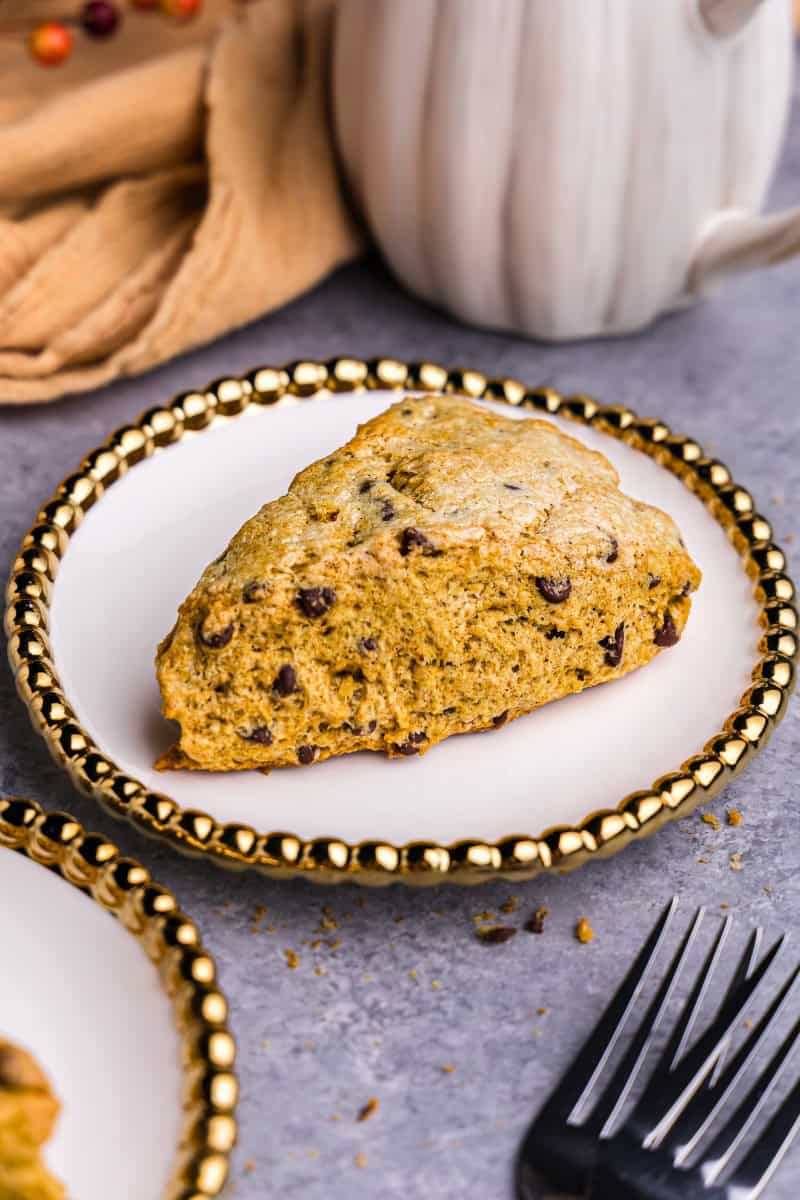
When the weather cools down and pumpkin spice is everywhere, these scones are a must. They’re loaded with cozy fall flavor and just the right amount of chocolate chips to make them extra fun. You’ll get soft, flaky layers thanks to cold grated butter, and they’re ready before you’ve even finished your first cup of coffee.
For more pumpkin spice, try our Pumpkin Chocolate Chip Cookies or our Pumpkin Spice Tiramisu.

Why My Recipe
- Fall pumpkin spice vibes with pops of chocolate chips in every bite!
- Uses grated cold butter for the flakiest scones.
- From mixing bowl to oven in just 10 minutes, and ready in under 30.
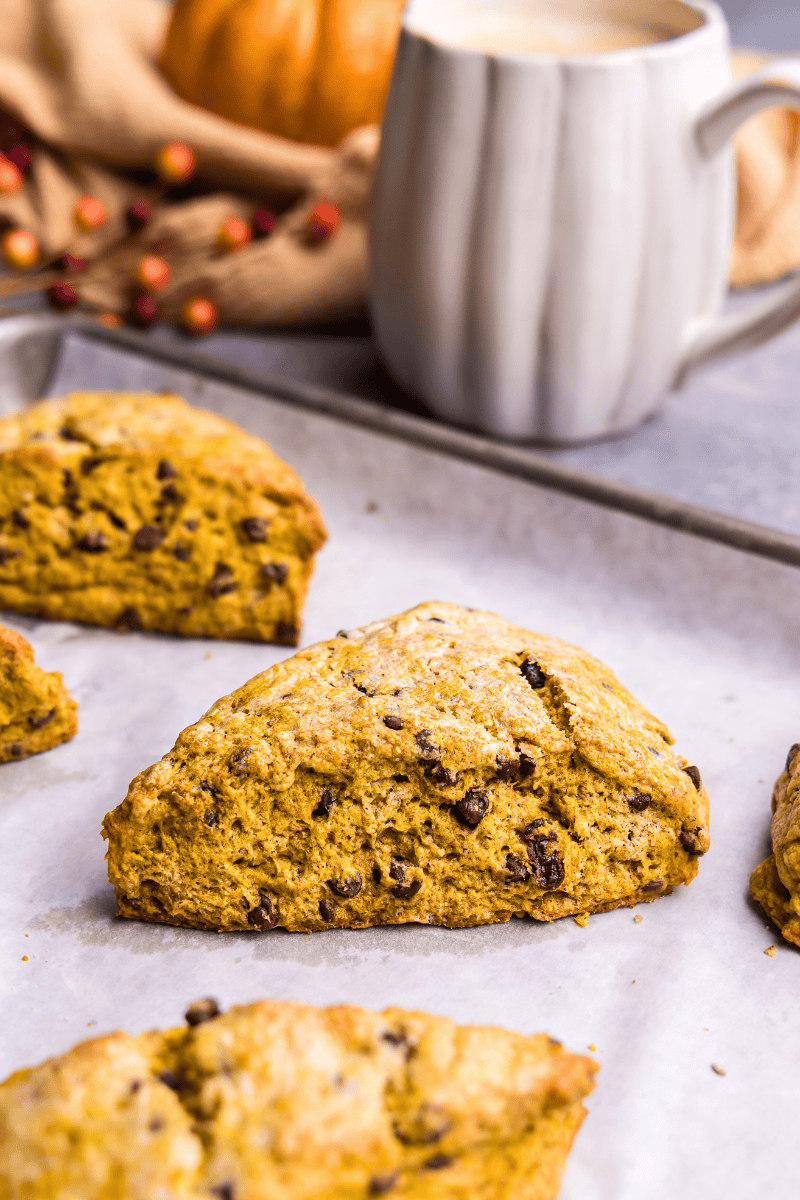
Make homemade warm and flaky pumpkin chocolate chip scones with simple, step-by-step instructions and an easy grated-butter method that speeds up the scone-making process! Using a cheese grater or food processor to cut the cold butter into the flour is not only super convenient, but it also saves you time and money, because we know not everyone has a pastry cutter on hand.
Ingredient Notes
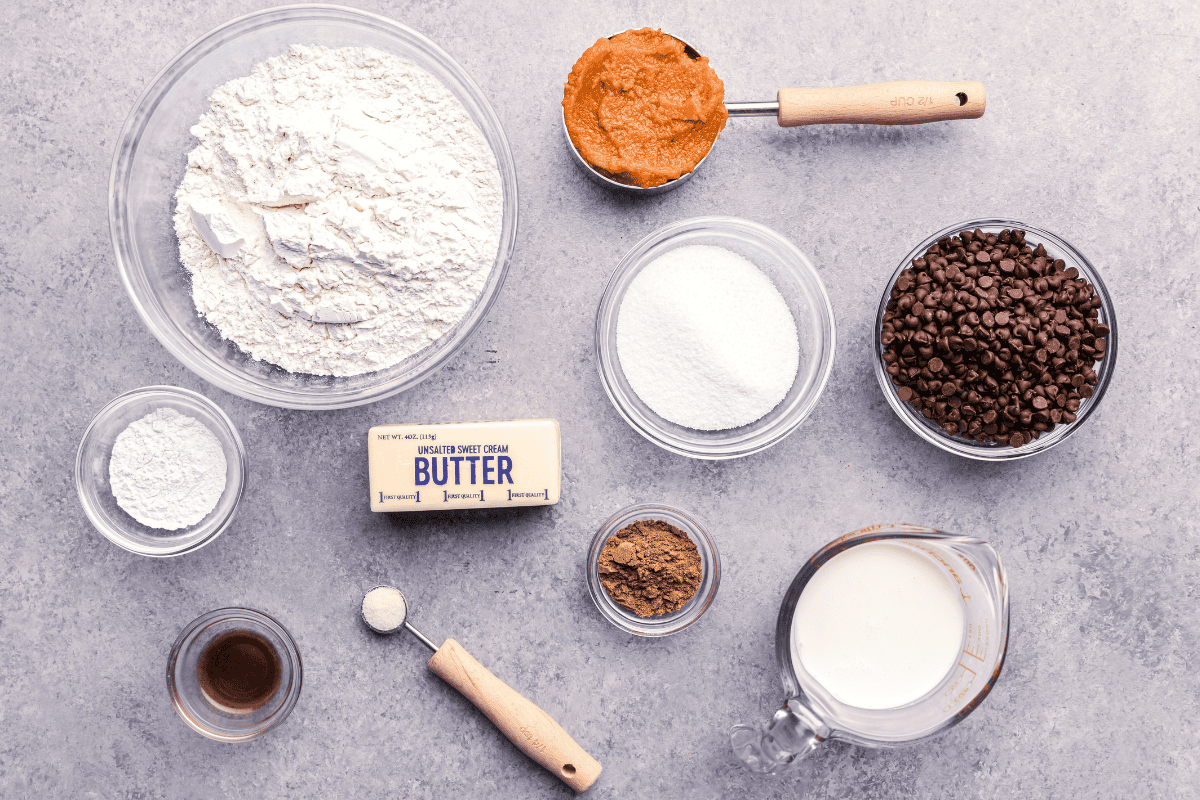
- Pumpkin Purée: Use pure pumpkin purée, not pumpkin pie filling. Pumpkin pie filling contains added sugars and spices, which would alter the recipe.
- Pumpkin Pie Spice: You can use a store-bought blend or make your own with cinnamon, nutmeg, ginger, and cloves.
- All-Purpose Flour: All-purpose is going to be your go to. Can also use bread or pastry flour, but it will change the texture ever so slightly.
- Cold Butter: Can use a cheese grater (small side), food processor, or pastry cutter. Place in freezer for 15 minutes before grating to help it grate into little pieces.
- Heavy Cream: Adds richness to the dough, and when brushed on top, helps the scones brown.
- Vanilla Extract: Enhances the flavor. Pure vanilla extract is recommended for the best taste, but artificial vanilla can be used as well.
- Mini Chocolate Chips: Go for mini chocolate chips as the regular-sized ones are too big and will overwhelm the dough.
Grating Butter vs. Pastry Cutter
Using a cheese grater to add butter to your scone dough is a nifty little trick that can make the process simpler and often more effective than using a pastry cutter. Grating the cold butter produces small, uniform pieces that mix evenly and quickly into the flour, which is key to achieving the perfect flaky texture.
This method can be a real time-saver and is especially handy if you don’t have a pastry cutter. In fact, we like this method even better than using a pastry cutter because it distributes the butter into the flour perfectly for just the right consistency and flakiness.
Dough Texture
Scone dough should be a little crumbly, but still hold together when pressed. If it’s too dry to form a ball, add a little cream, 1 teaspoon at a time. If it’s too sticky, sprinkle on a little extra flour, just enough to bring it together. Don’t overwork the dough. Press it gently and it’ll bake up nice and tender.
If you want next-level flaky scones, you can laminate the dough before cutting. It sounds fancy, but it’s super easy to do.
After you bring the dough together and form it into a rough rectangle, gently fold it in half like a book, then press it back down into a rectangle. Repeat that folding and pressing one or two more times. This creates layers, kind of like puff pastry, and helps the scones rise up tall and flaky in the oven.
Just don’t go overboard—you want to keep those butter bits cold and intact. Two to three folds is plenty. Then pat into your circle, cut into wedges, and bake as usual.
Trick to the Perfect Shape
Want the cleanest edges and perfect shape? After shaping into wedges or disk, chill the shaped scones for 10 to 20 minutes in the fridge or even a short time in freezer. This helps improve rise and keep edges clean.
How to Know When They Are Done
Scones can go from perfect to dry pretty fast, so keep a close eye on them. You’re looking for lightly browned tops and firm edges. They should feel set, not soft or squishy in the center. A toothpick should come out clean, and if the bottoms are golden brown, they’re ready to come out of the oven.
Mix-Ins and Toppings
Want to mix things up? These scones are super flexible, so make them your own.
Icing: Drizzle a simple vanilla icing on top with this recipe, or make a cinnamon icing that pairs perfectly with the warm, pumpkin spices.
Cinnamon: These pumpkin scones look pretty dusted with some ground cinnamon over the top or a sprinkle of cinnamon sugar.
Chopped Nuts: Top with chopped pecans or walnuts, or even add some (finely chopped) to the dough!
Make-Ahead Option
This dough freezes nicely to be made later on. Make the dough and cut into wedges, and then wrap in parchment paper and seal in a freezer bag. To make, thaw the dough in the refrigerator overnight and then bake as directed.
Storage and Reheating
Store at room temperature in an airtight container for up to 1 week.
Freeze leftover scones in plastic wrap with a layer of aluminum foil to prevent freezer burn. Freeze for up to 3 months. Thaw at room temperature for 2 to 3 hours.
Reheat individual scones in the microwave on high in 10-second increments.
More delicious scones…
Trending Products

OUTNILI Mop Broom Holder Wall Mount...

Jetec The Secret Ingredient Is Alwa...

12PCS Universal Vacuum Attachment K...

Paper Towel Holder – Self-Adh...

WORKSHOP Wet/Dry Vacs Vacuum Access...

Cocorrína Reed Diffuser Set, Clean...
13Pcs Universal Vacuum Attachment K...

Whonline Fake Hanging Plants, Artif...

WEALD TRIBE Flower Reed Diffuser Se...